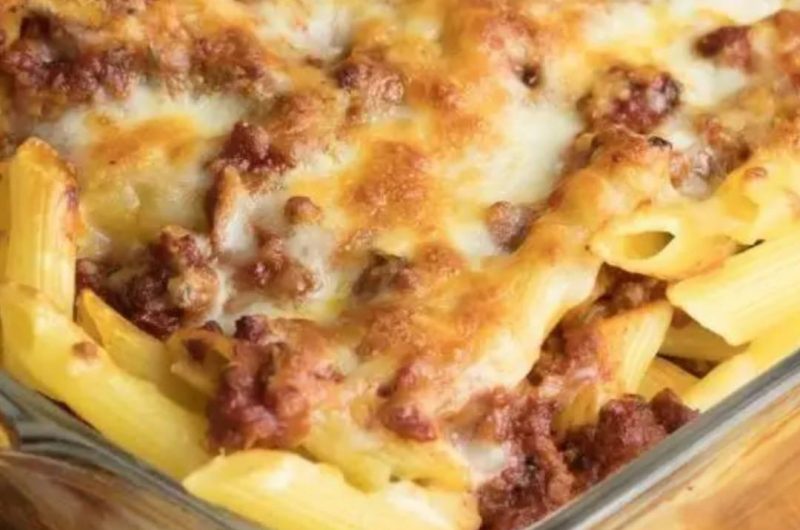
Ahhhh, chili mac! There’s something truly magical about combining two beloved comfort foods into one irresistible dish. With the hearty spiciness of chili and the creamy, warming cheesiness of mac and cheese, this Baked Cheesy Chili Mac is the ultimate crowd-pleaser. Our mom always made chili mac on the stovetop, and it was undeniably comforting. But we’ve taken it to the next level by baking it to golden, gooey perfection.
Inspired by classic baked mac and cheese, this recipe uses penne pasta for a denser bite, though traditional macaroni works just as well. The chili mixture is a quick blend of ground beef, onion, garlic, canned tomatoes, green chilies, and a touch of cumin and chili powder. Mixed with sour cream and a generous amount of cheese, it’s creamy, zesty, and utterly satisfying. A final layer of cheese on top ensures every bite is cheesy goodness.
Ingredients:
- 2 lbs ground beef
- 1 lb (16 oz) penne pasta
- 2 1/2 cups Mexican cheese blend, grated and divided
- 2 cups (16 oz) sour cream
- 1 can (10 oz) diced tomatoes and green chilies
- 1 can (14 oz) crushed tomatoes, undrained
- 1 small onion, chopped
- 1-2 cloves garlic, minced
- 2 tablespoons chili powder
- 1/2 teaspoon ground cumin
- Kosher salt and freshly ground pepper, to taste
Preparation:
Preheat oven to 350°F and grease a 9×12-inch baking dish. Bring a large pot of salted water to a boil and cook pasta 2 minutes less than package directions. Drain well. In a large pot, cook ground beef and onion over medium heat until beef is no longer pink (about 8 minutes). Add garlic and cook for 2 minutes. Stir in tomatoes, green chilies, chili powder, and cumin. Season with salt and pepper. Add drained pasta, sour cream, and 1 1/2 cups cheese. Stir to combine. Transfer to the baking dish, top with remaining cheese, and bake for 20 minutes until bubbly. Let sit for 5 minutes before serving. Enjoy!


